.png?height=120&name=Pegasus%20Robotics%20Logo%20-%20Portait%20(2).png)
Field Management System
Overview
XAG remote controller ACS2 with RTK module allows users to perform field mapping. This method is efficient when the field area is small and simple. When dealing with a large field area, it’s more convenient to have aerial survey drones to capture and process a digital map, then draw out the field boundary, obstacles and non-spray area on computer software and output them as KML file. Once completed, users upload this KML to our Field Management System (FMS).
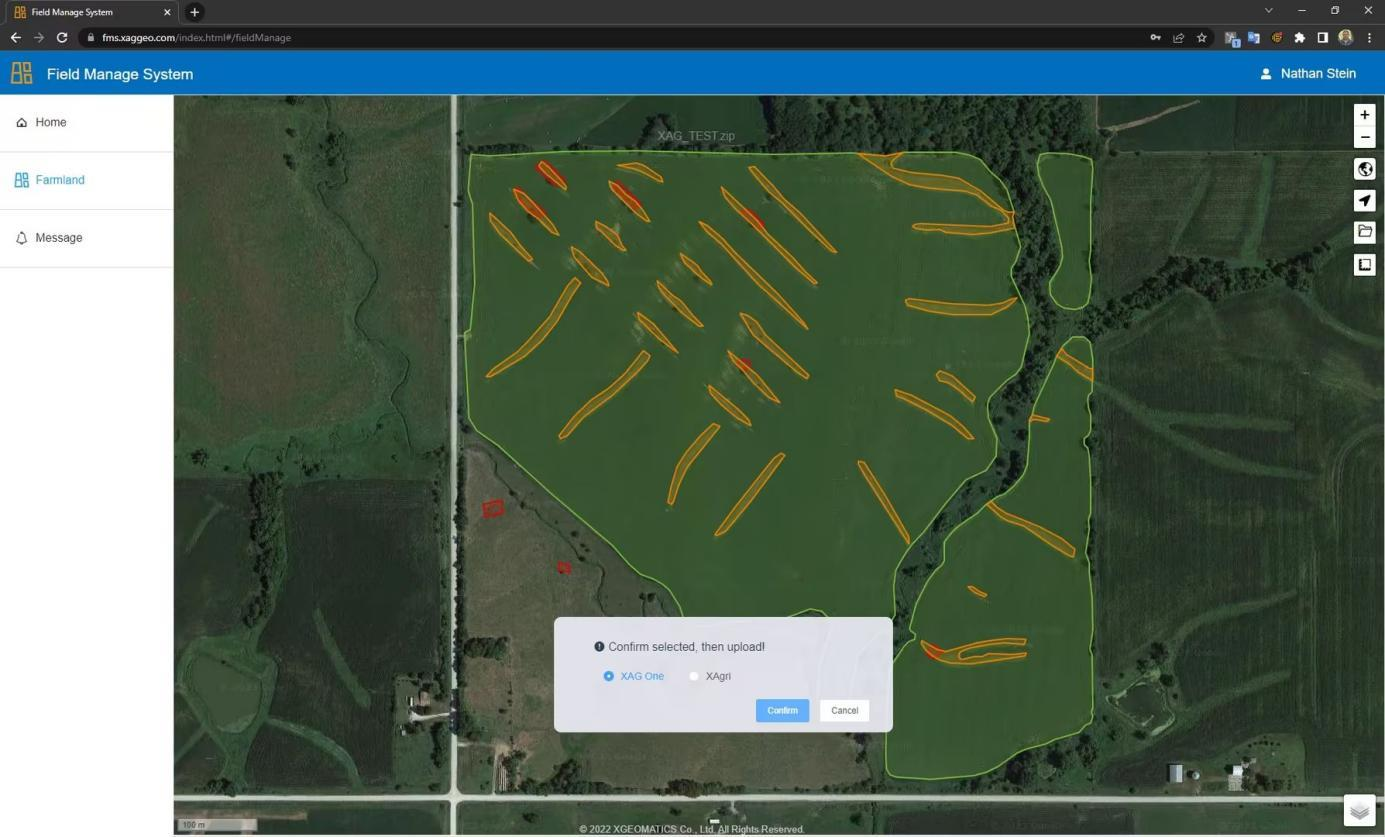
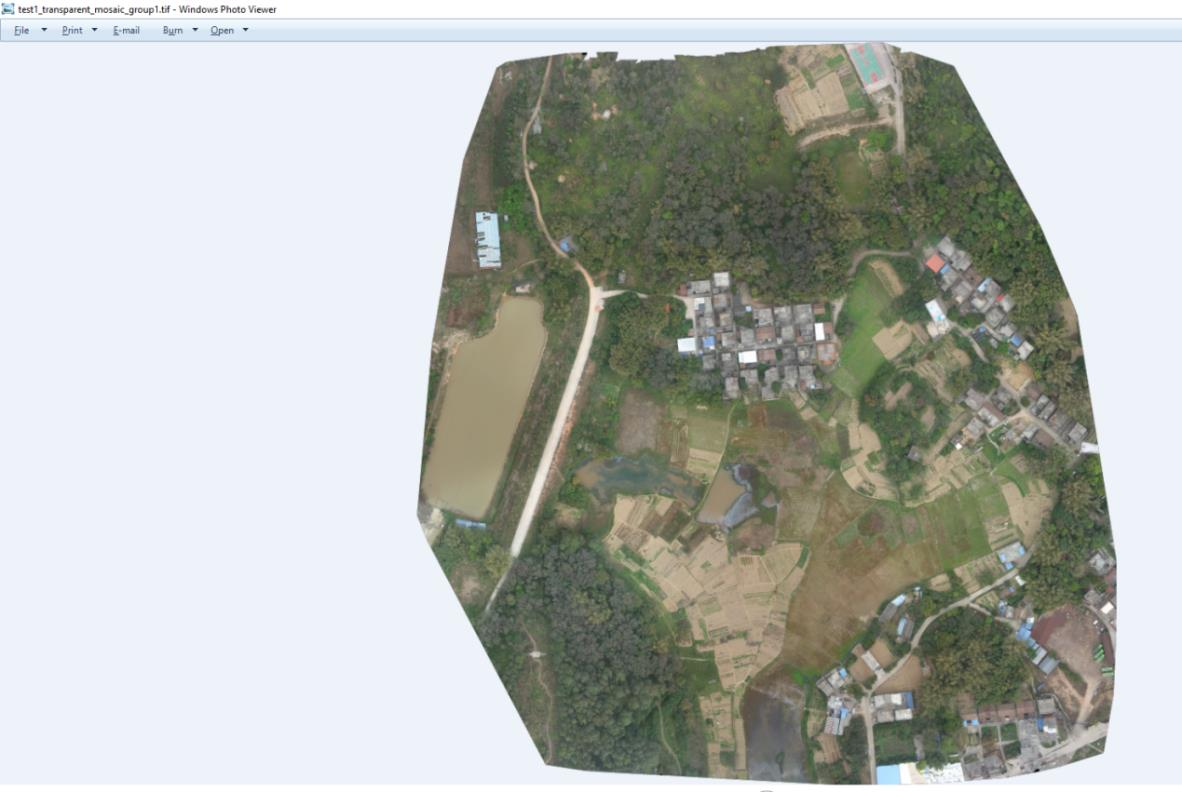
If the field condition is very complicated (see the map below), manual mapping with rover will be extremely exhausting with low efficiency, the FMS is designed to address such situation.
Procedure
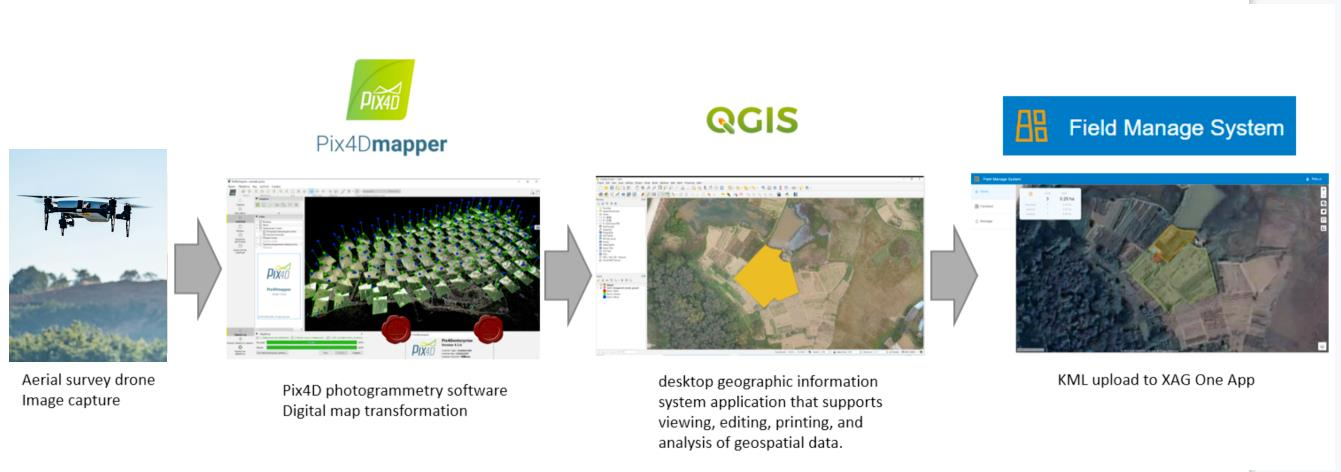
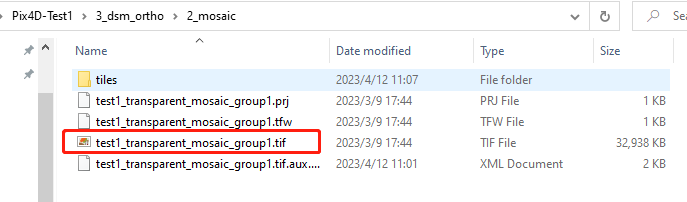
Prepare digital map (.tif)
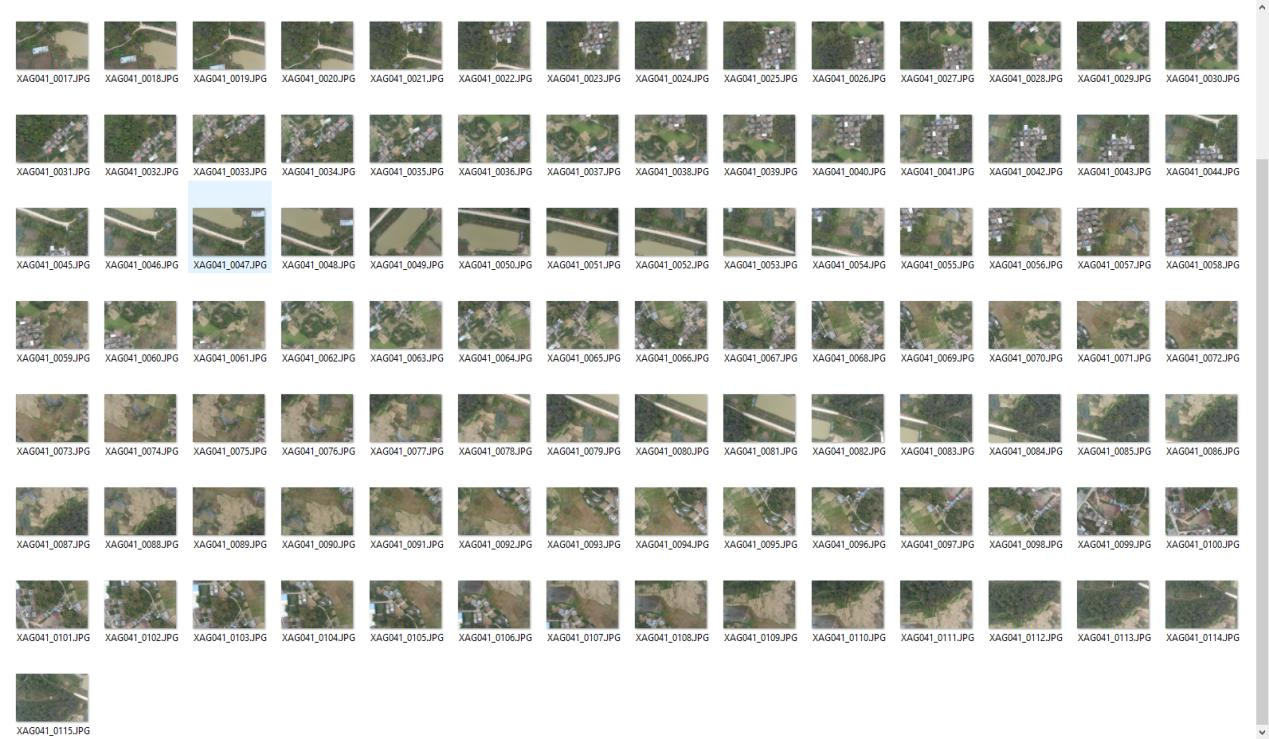
Please have your .tif file ready. You can generate the .tif file from any aerial survey drones, which can capture a sequence of images from a predefined field. Then use photogrammetry software to transform these images in digital maps (.tif) file.
Images captured by aerial survey drone
Images processed by Pix4D mapper
https://www.pix4d.com/product/pix4dmapper-photogrammetry-software/

Pix4D mapper output (.tif)
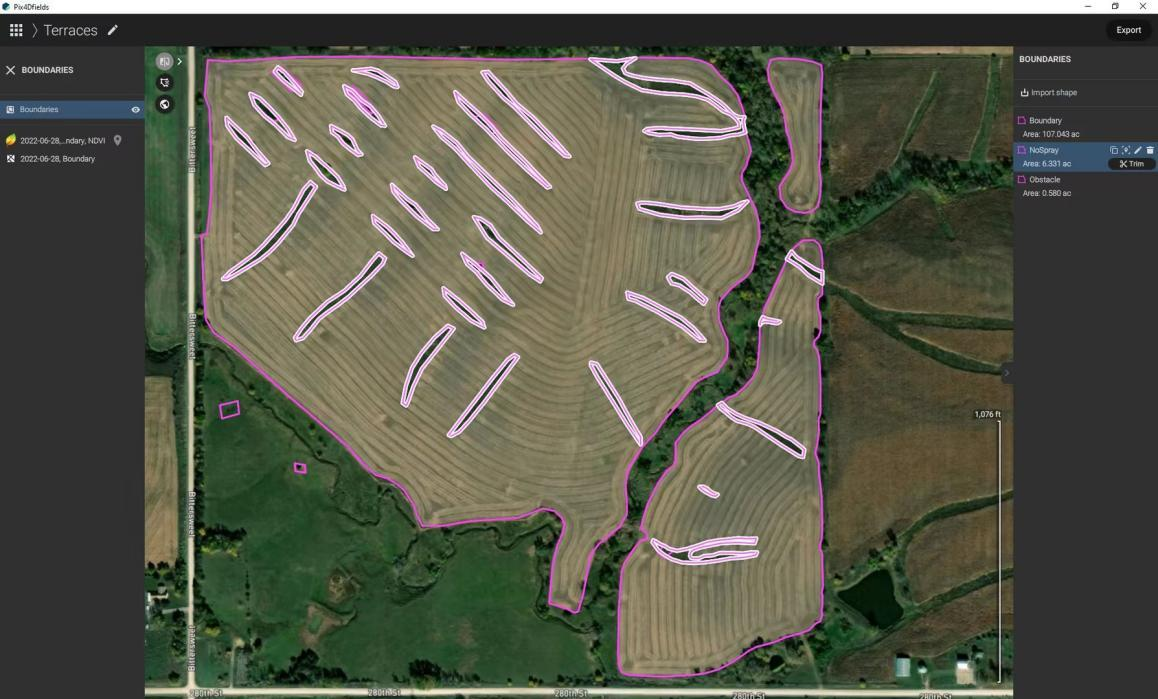
Some Pix4D packages support field editing, you can edit the attributes of the polygons directly with third party software like QGIS
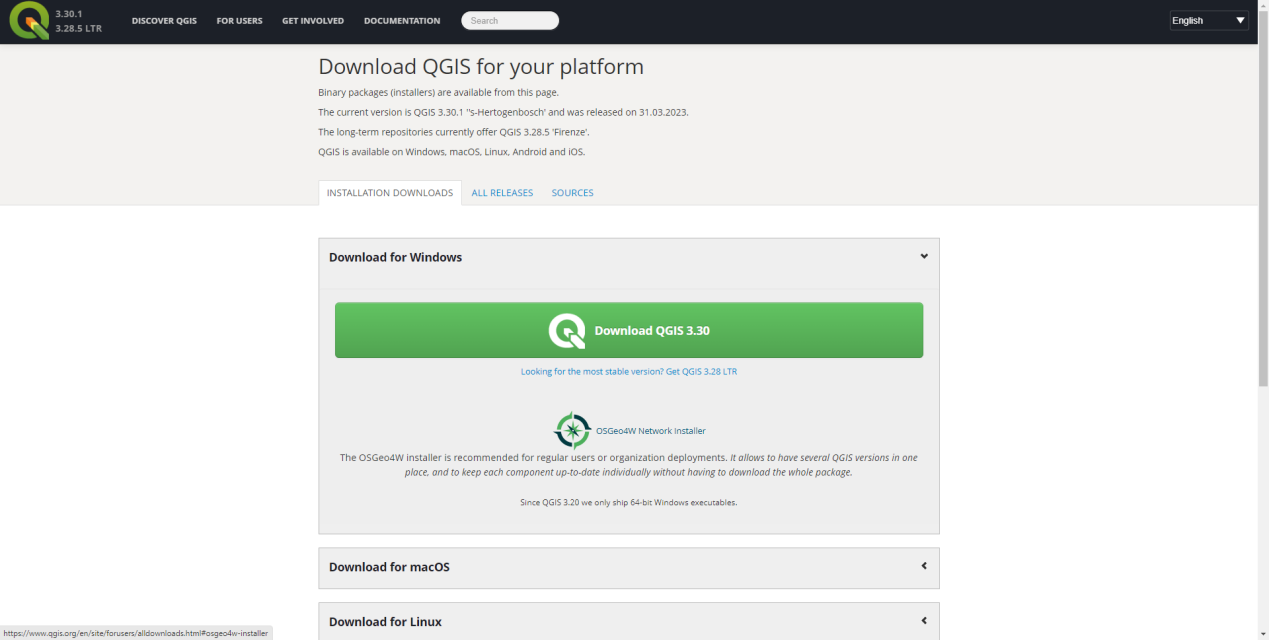
Download and install QGIS
QGIS allows users to draw field boundary or polygon on digital map.
Download link: https://www.qgis.org/en/site/forusers/download.html
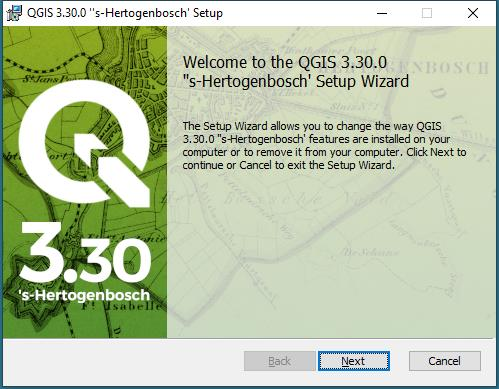
Install QGIS
Import and Edit field on QGIS
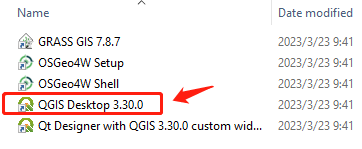
1. Open QGIS desktop
2. Open digital map (.tif)
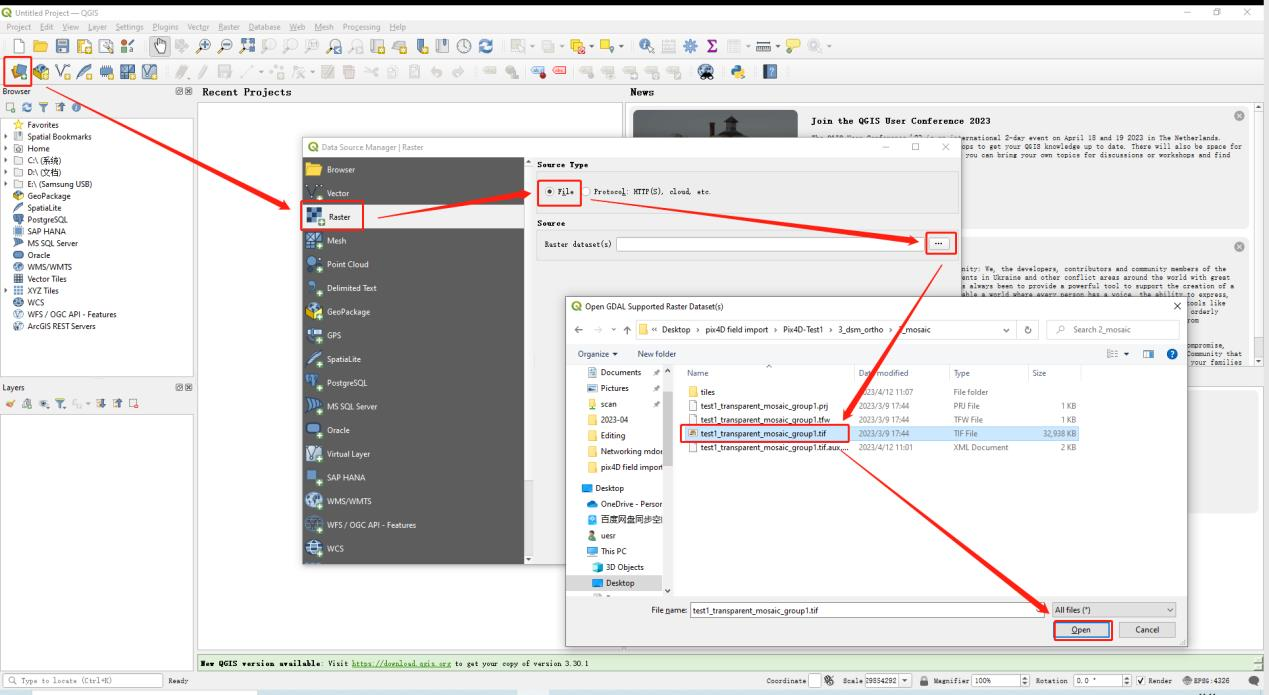
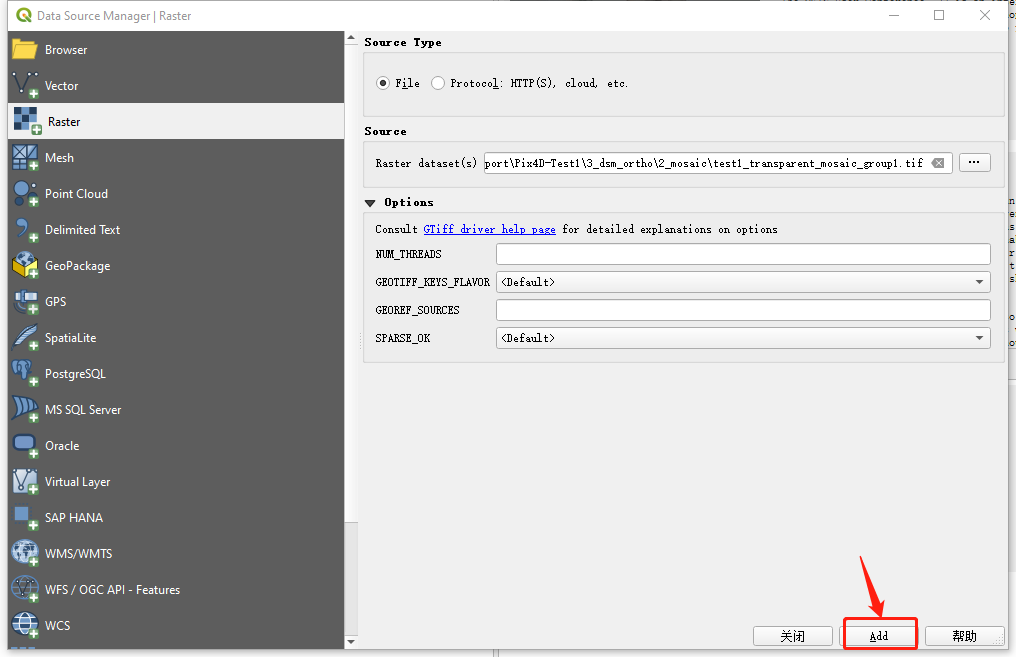
3. Add .tif file
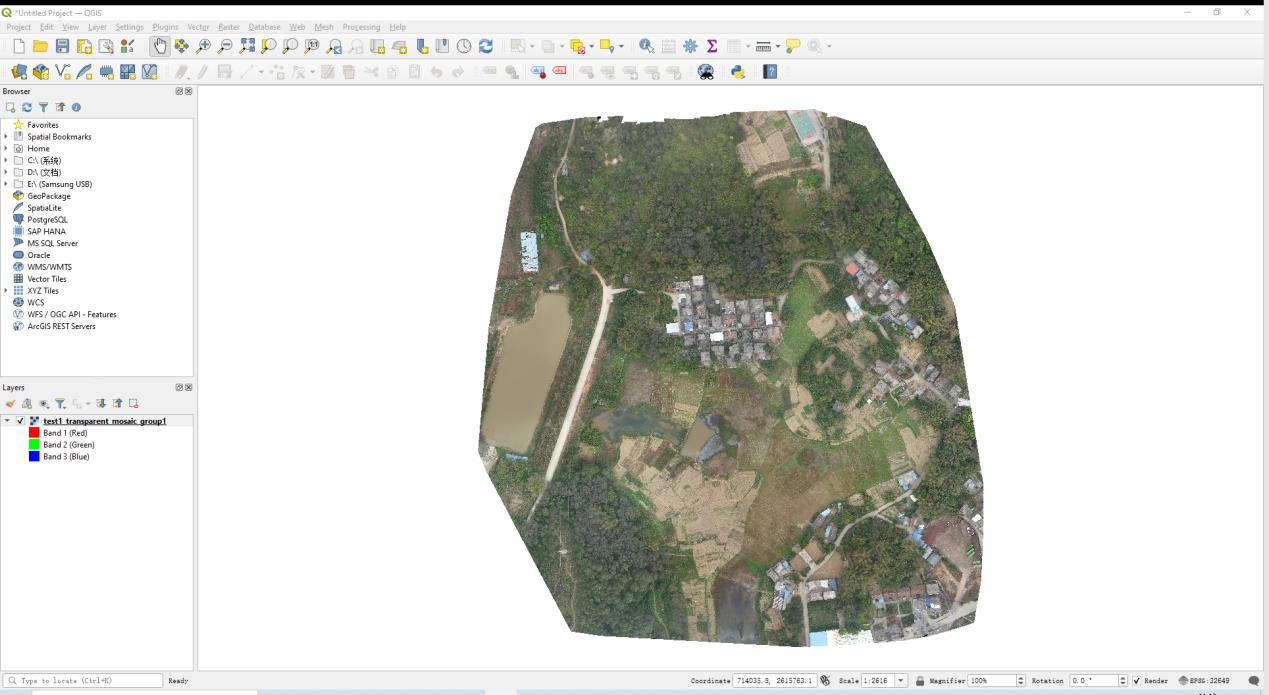
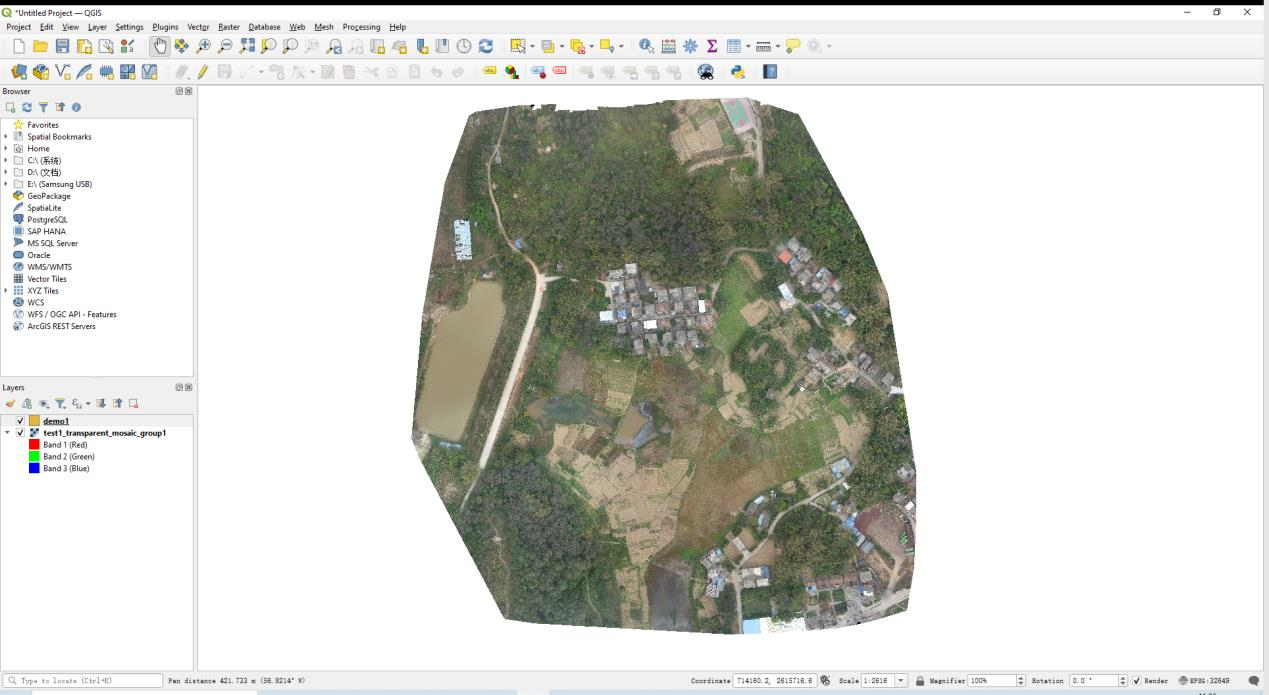
4. The digital map is added by QGIS,
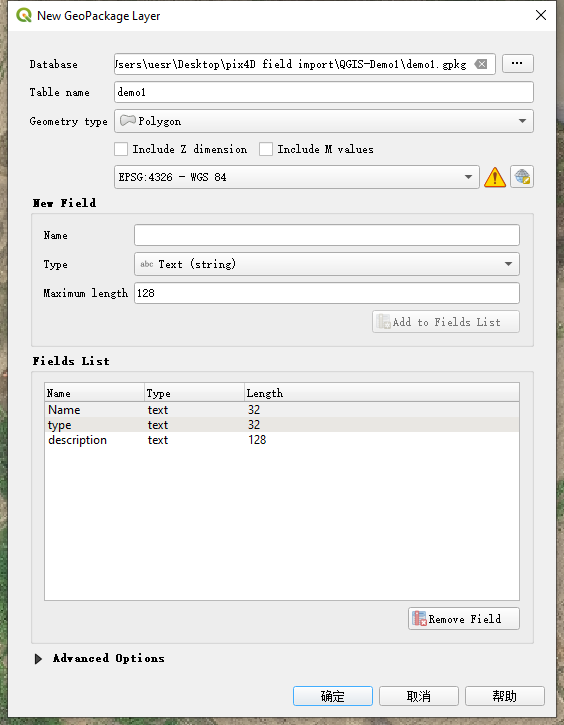
5. Create GeoPackage layer
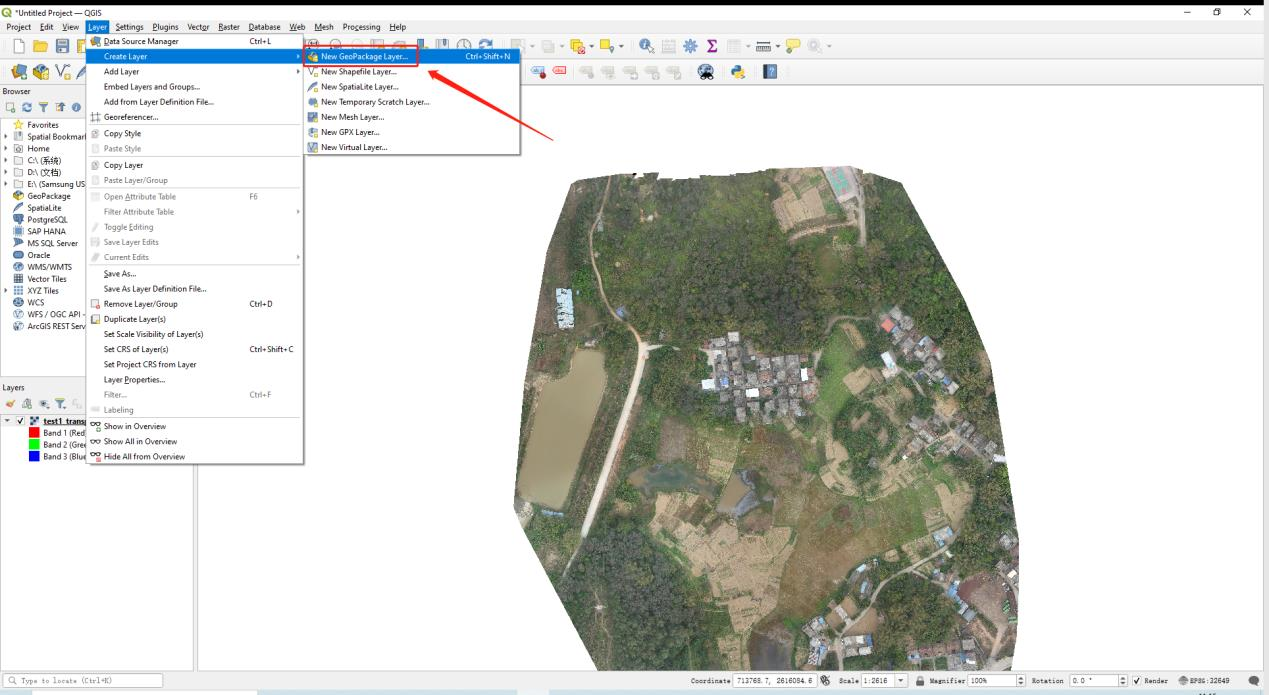
6. Edit layer info
We need to fill out the information on this GeoPackage layer page.
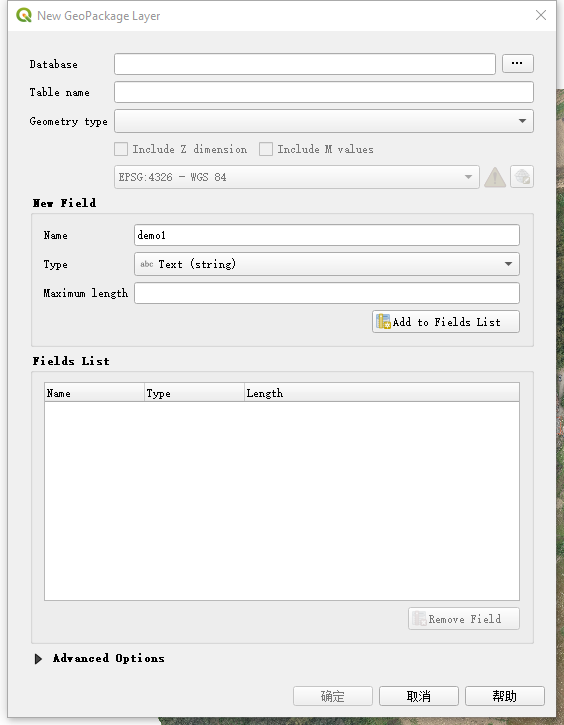
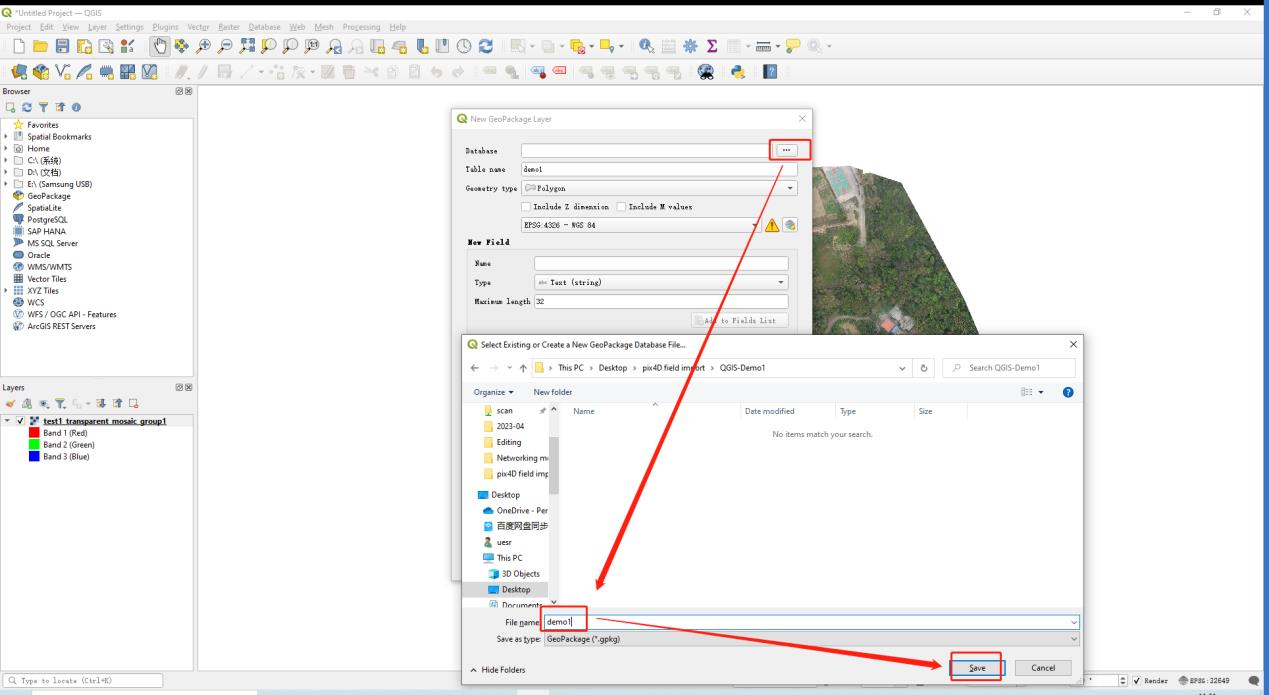
Set the saved path
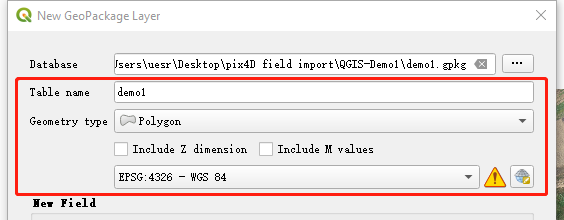
Give table name and set geometry type as polygon
Make sure us the default coordinate EPSG:4326 -WGS 84
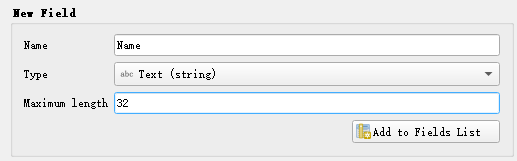
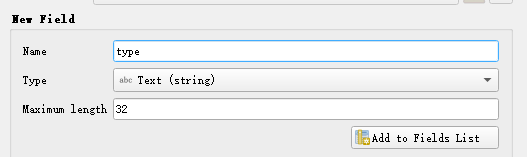
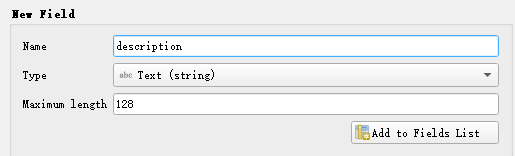
Under New Field, create key attributes according to the followings:
|
No. |
Name |
Type |
Maximum length |
Comments |
|
1 |
Name |
Text(string) |
32 |
give polygon a title |
|
2 |
type |
Text(string) |
32 |
Polygon type. It can be only defined as either boundary, obstacle or nospray. |
|
3 |
description |
Text(string) |
128 |
Explain polygon |
Press “Add to fields List” when New field info is filled.
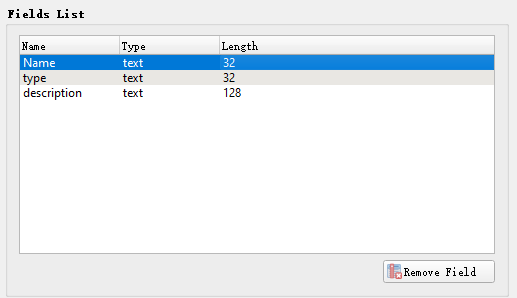
Press OK to process
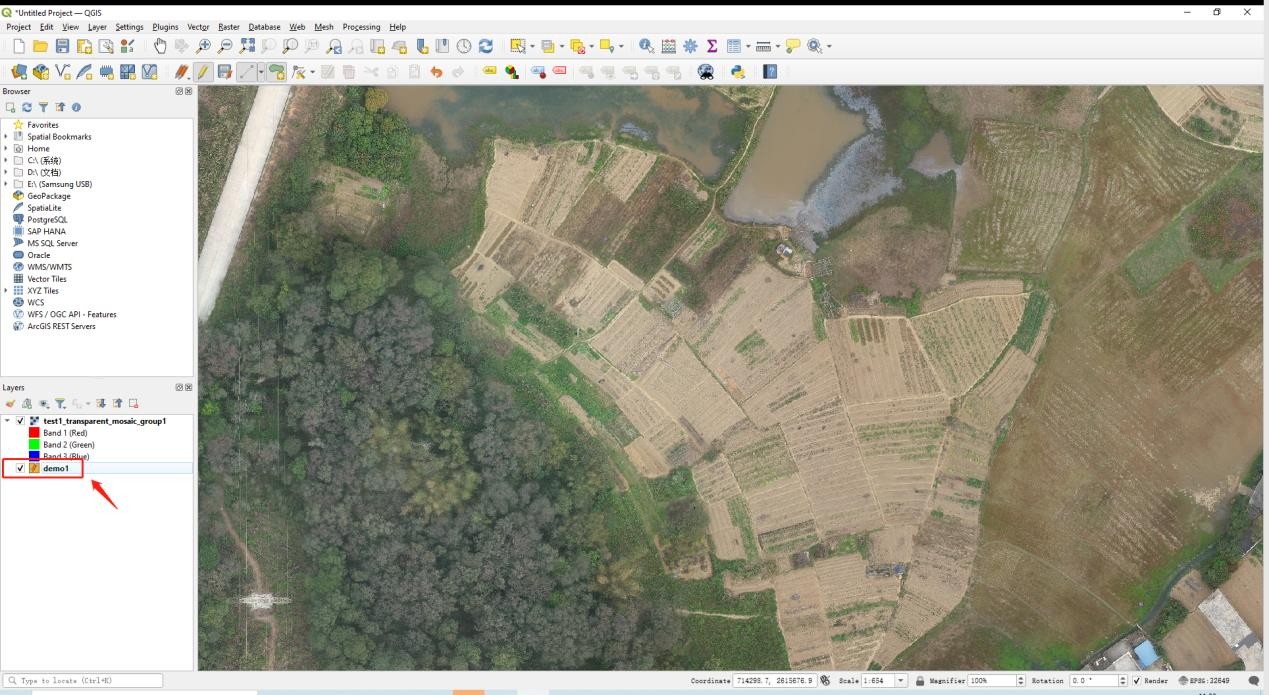
7. Now the new GeoPackage layer called Demo1 is created
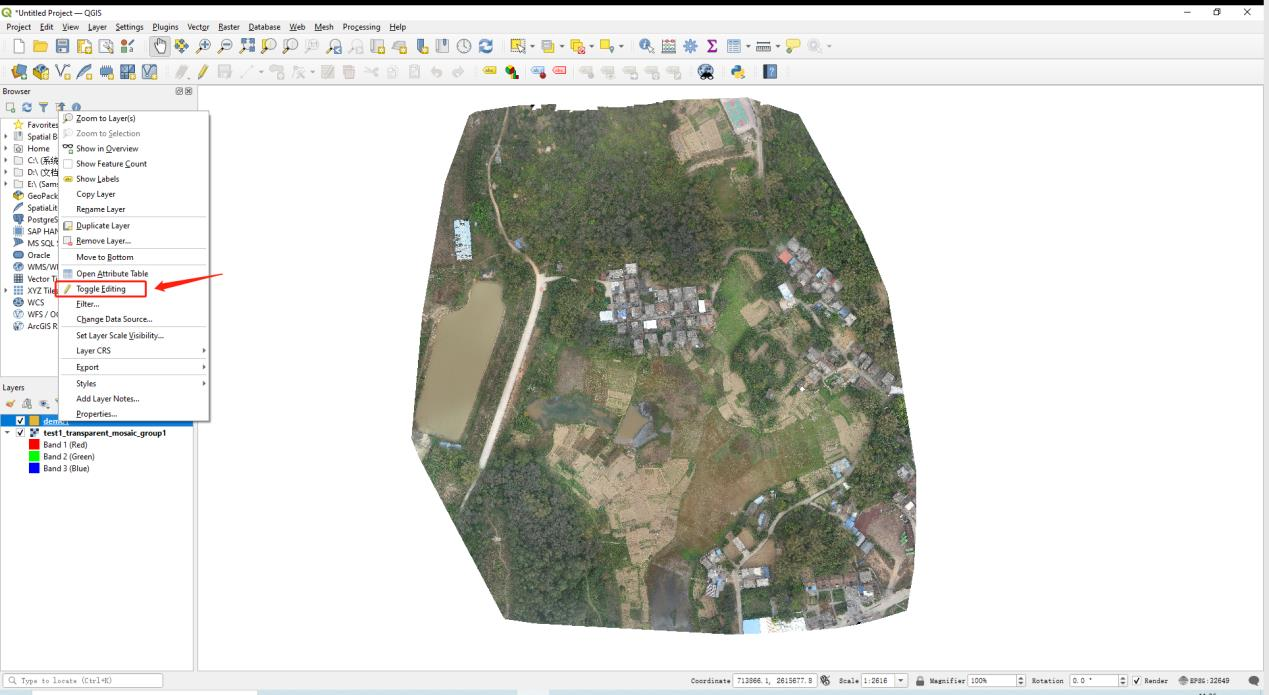
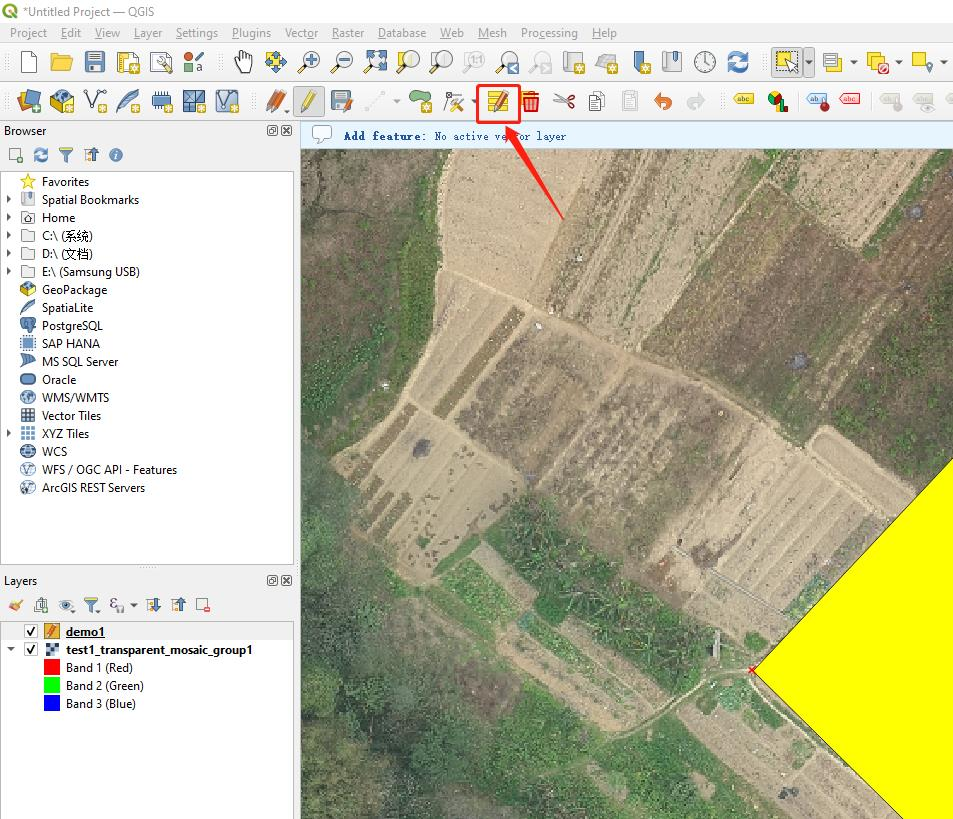
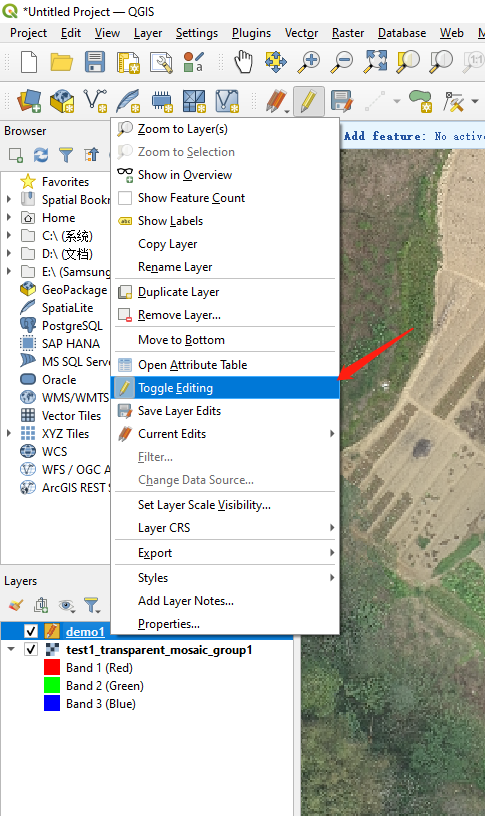
8. Press Toggle editing to allow layer editing
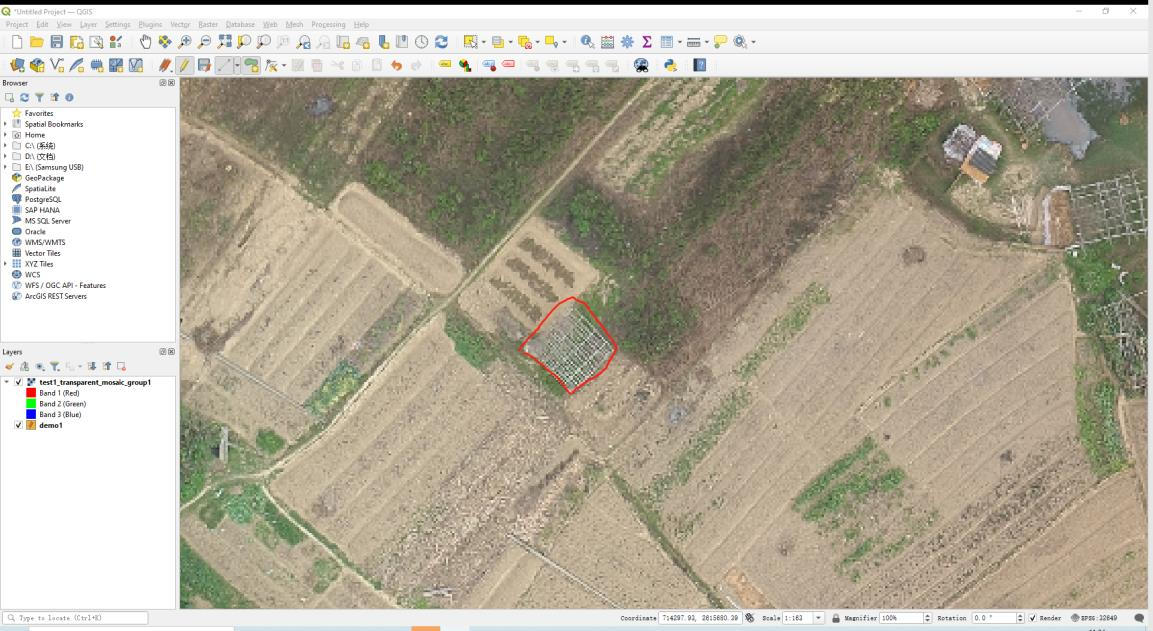
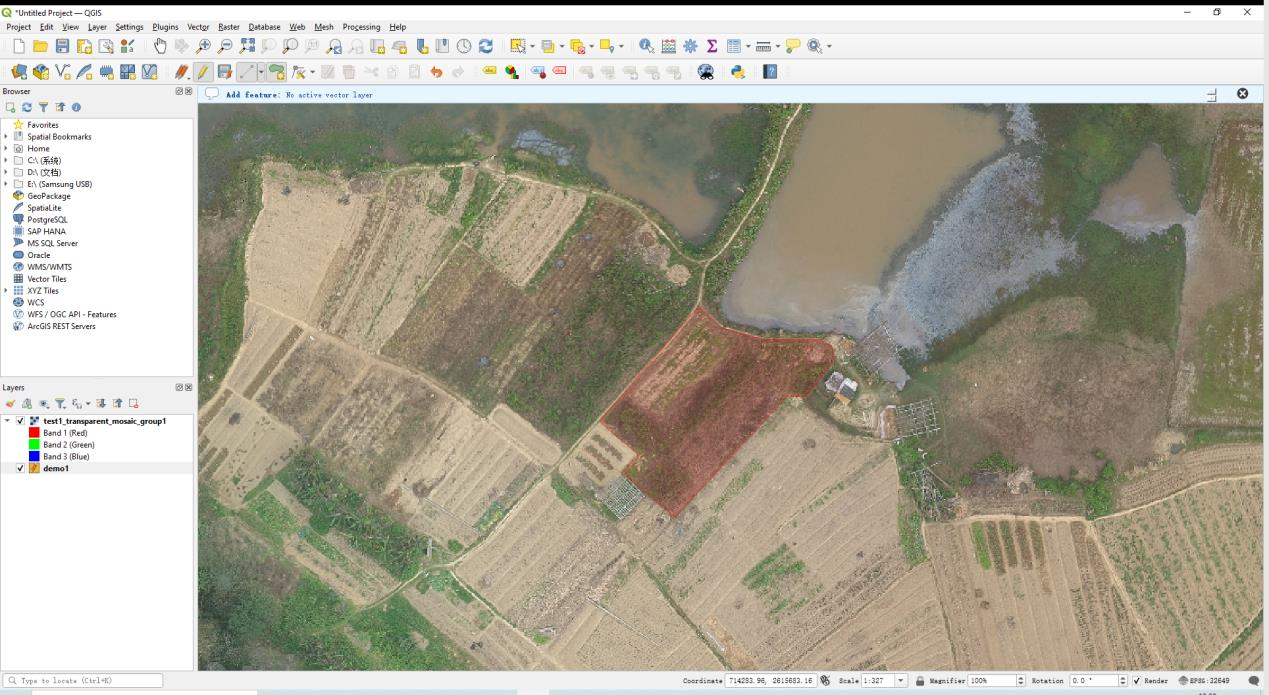
9. Use polygon tool to draw the field boundary
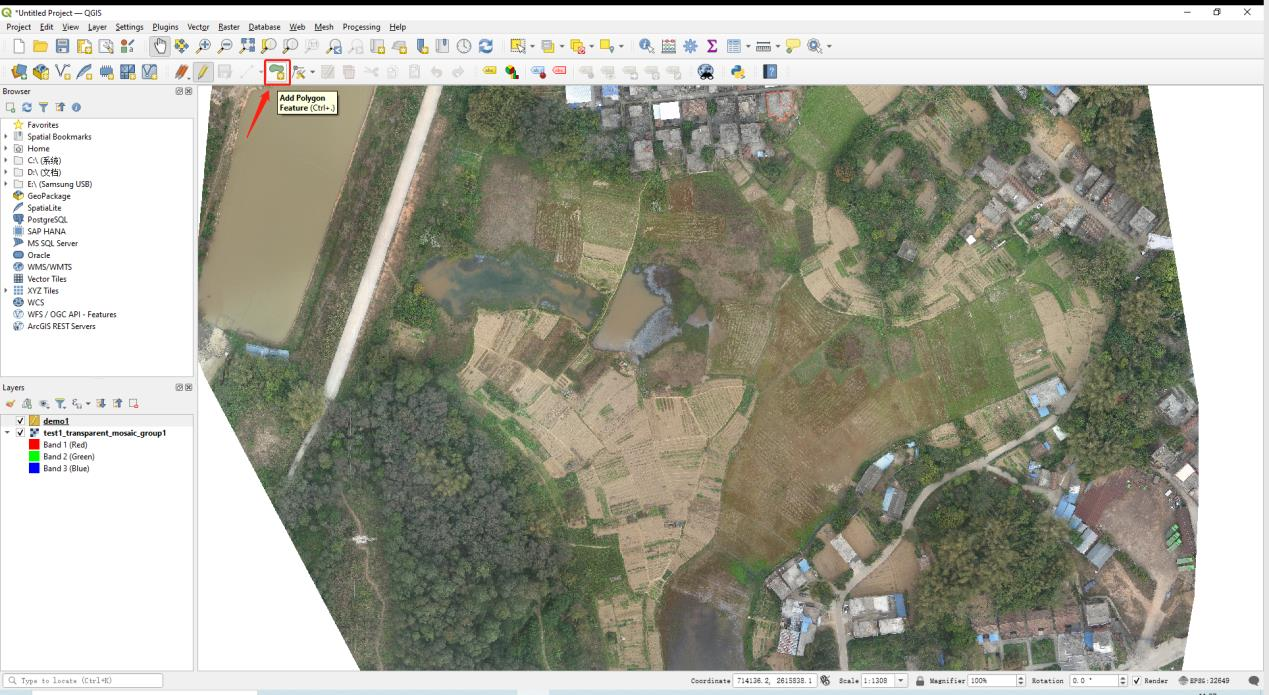
Once the boundary draw, you can press the right button of your mouse to save the boundary
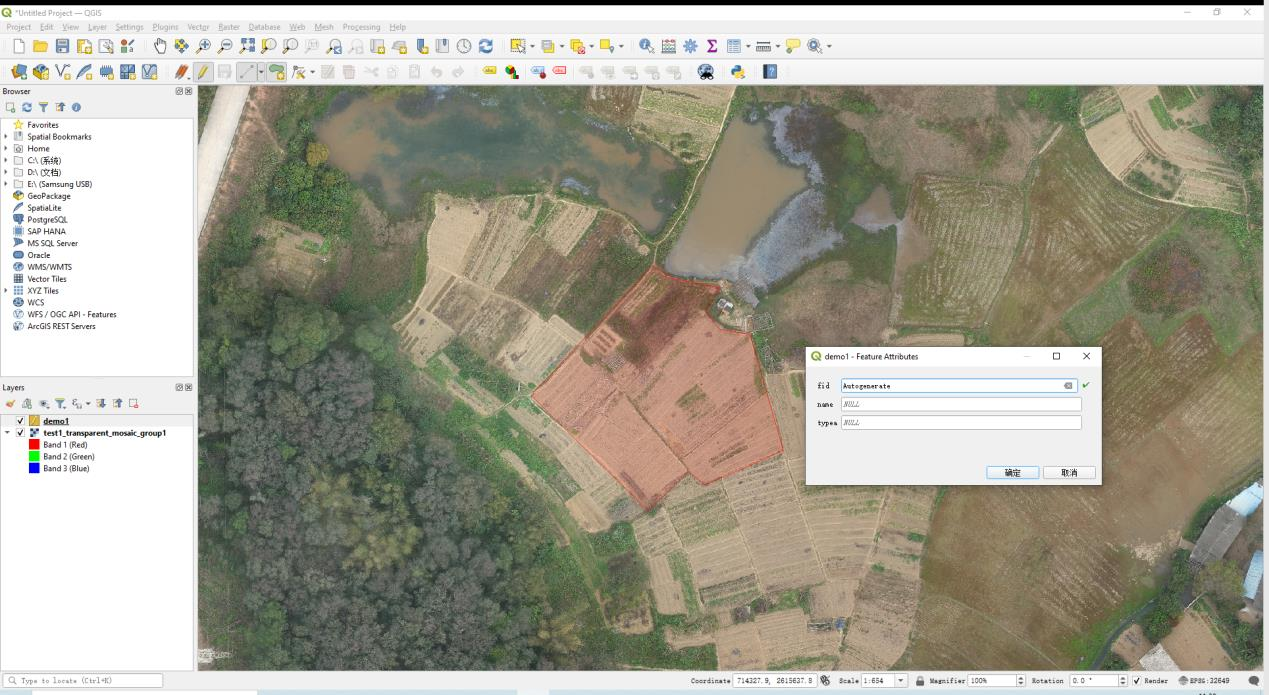
Fill out the fid, Name, type and description according to the feature attributes As we are drawing the field boundary, the type must be “boundary”.
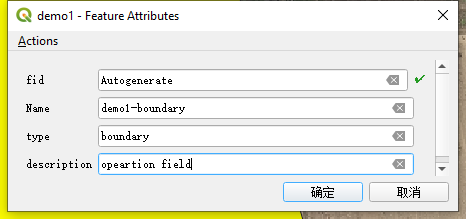
Press OK to proceed
If attribute info is wrong, you can use the field edit to change the attribute info.
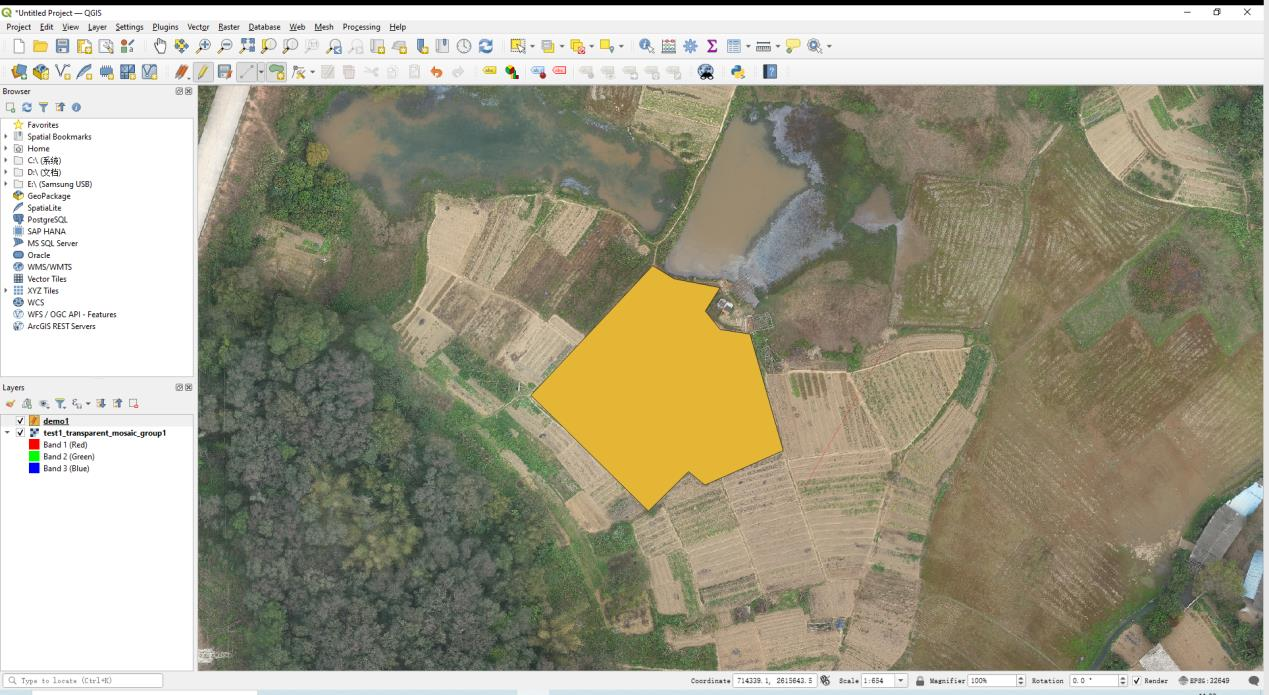
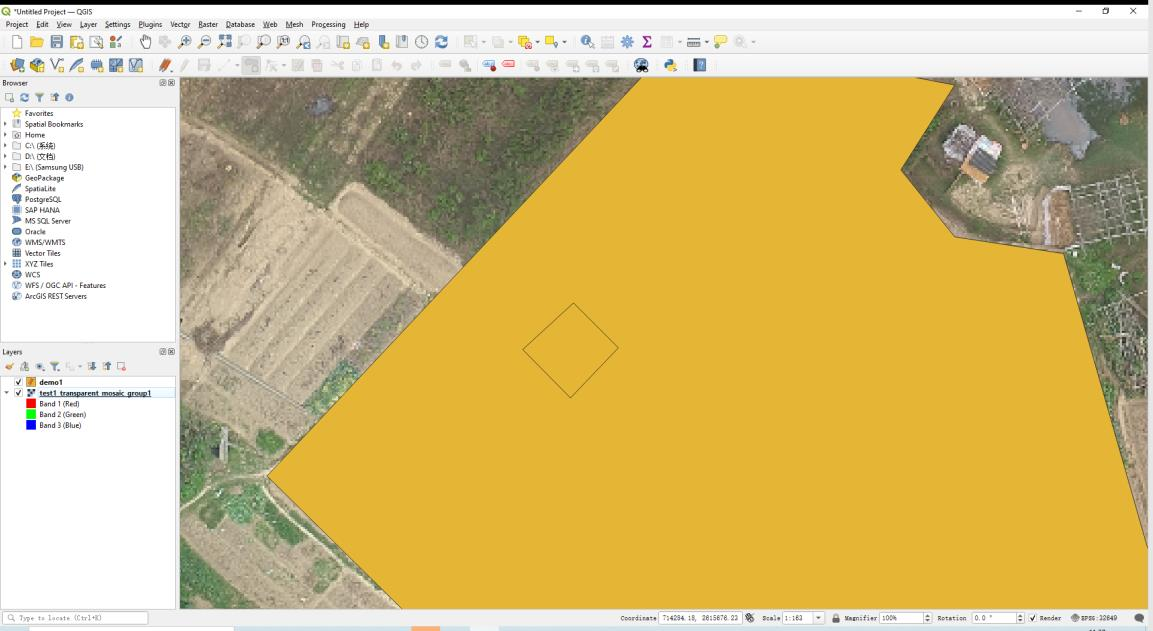
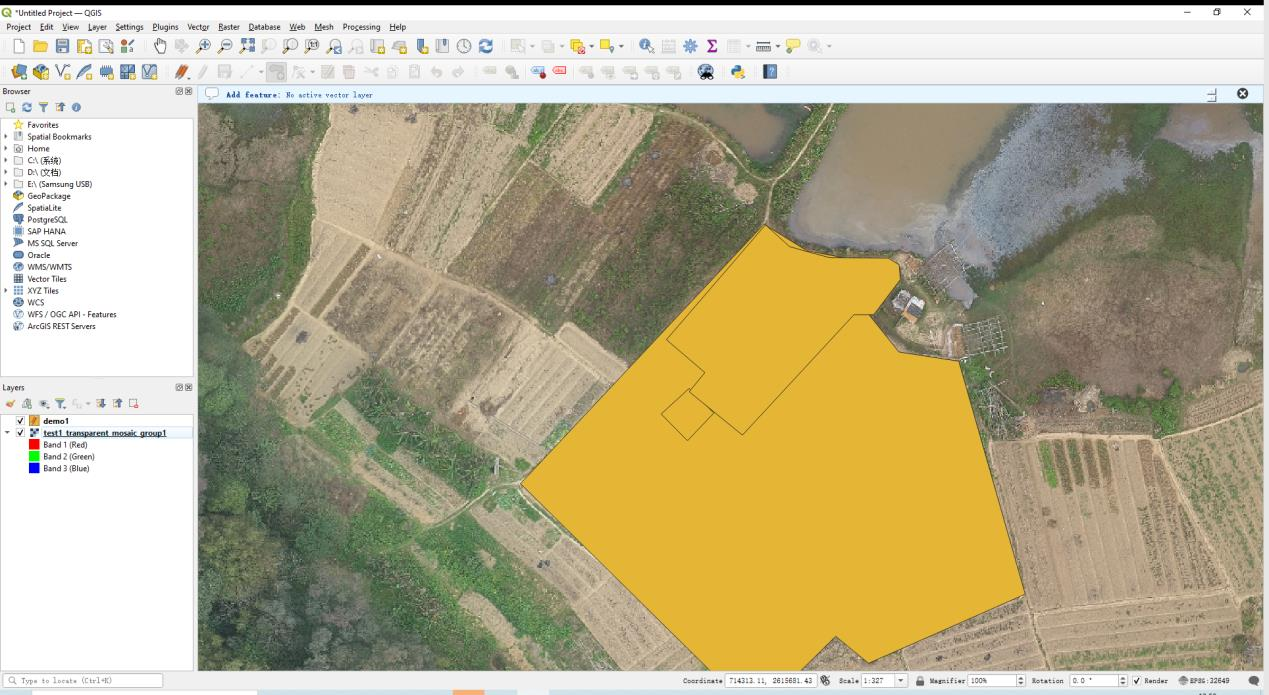
10. Pull demo1 to the bottom of the list so that the layer will not cover the digital map. Then you are free to draw obstacles or non-spray areas on the map.
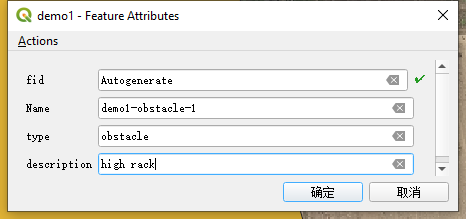
11. Draw obstacle
Fill out the fid, Name, type and description according to the feature attributes As we are drawing obstacle here, the type must be “obstacle”
Now we can see the obstacle from the digital map.
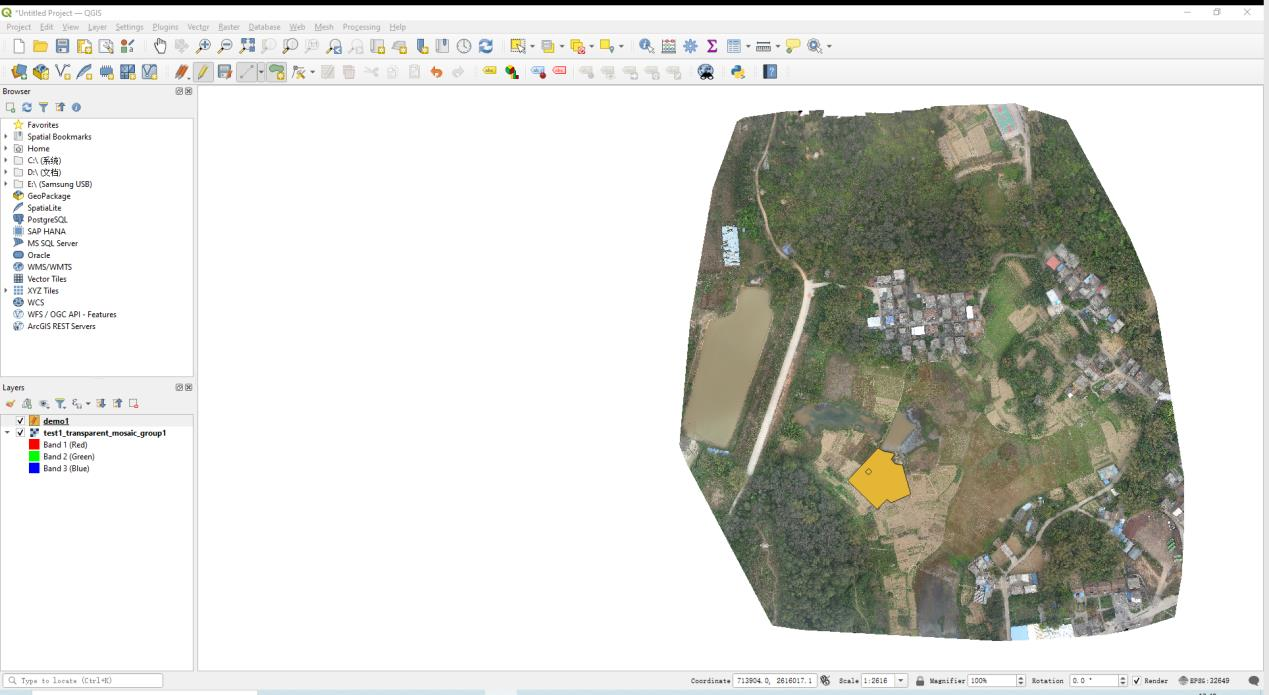
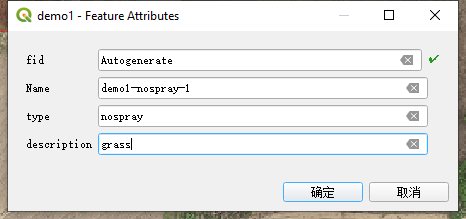
12. Draw non-spray area
Fill out the fid, Name, type and description according to the feature attributes As we are drawing non-spray area here, the type must be “nospray”
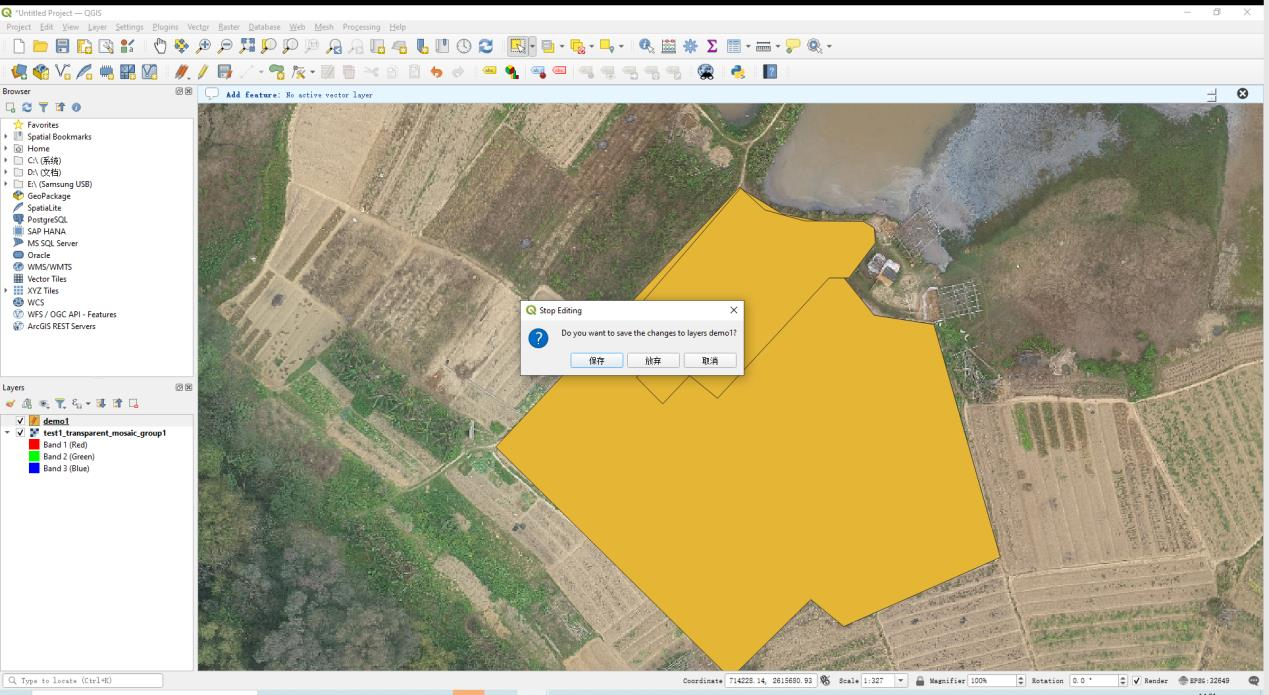
13. Press toggle editing again to save the layer
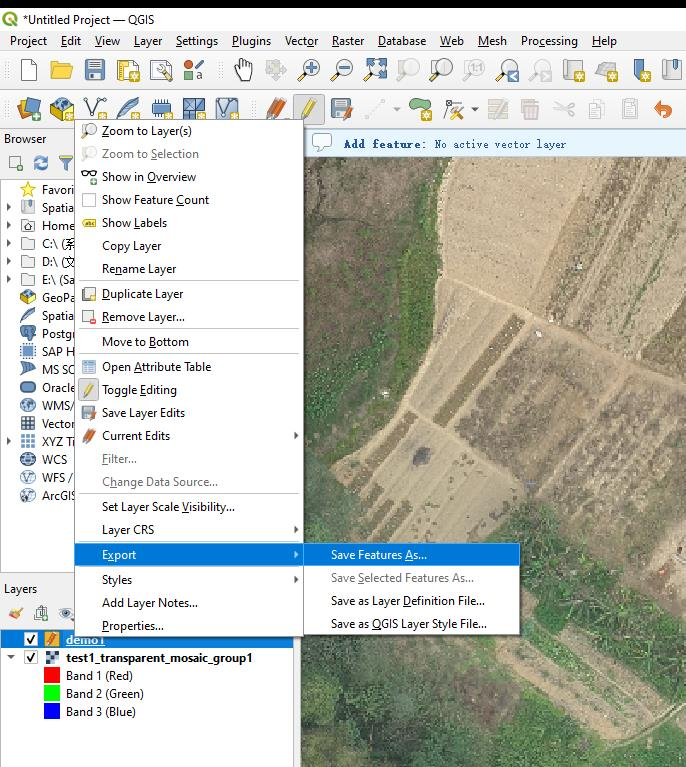
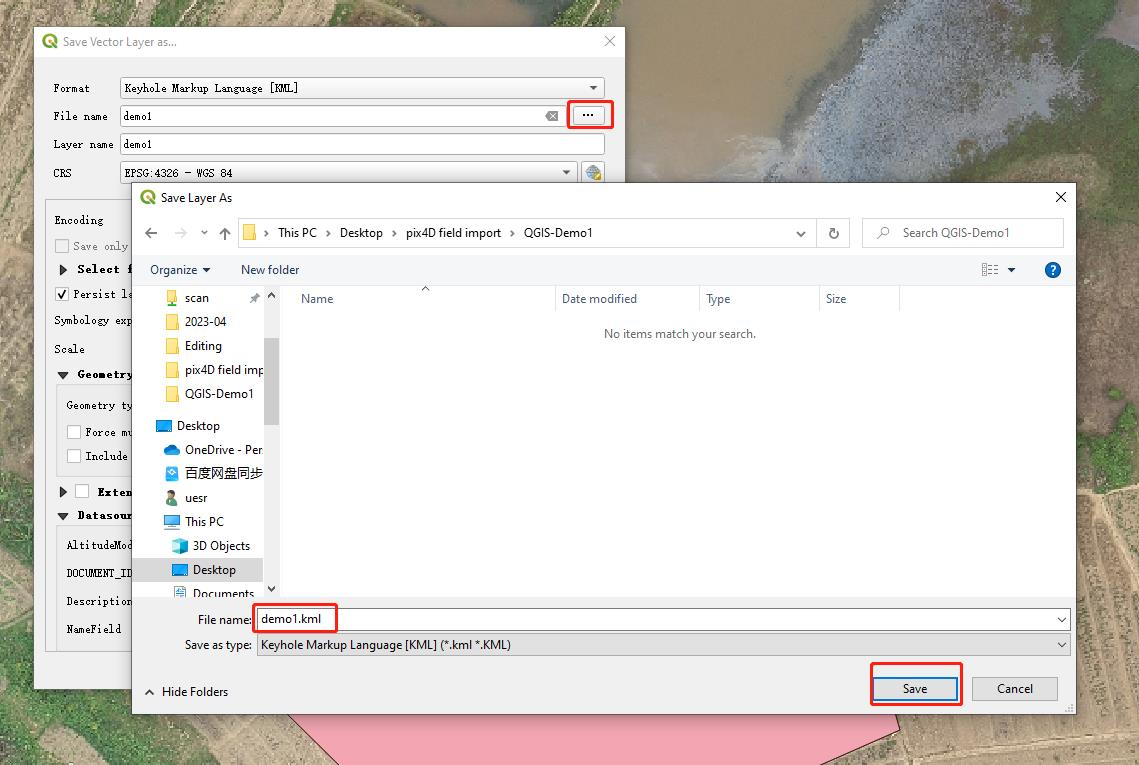
Save the features as… (from here, we can save the kml file that is allowed to upload to FMS)
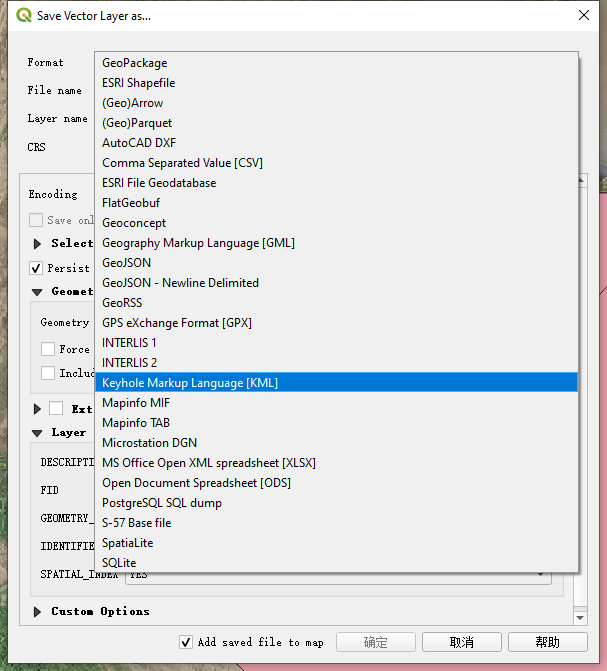
Choose the format as Keyhole Markup Language (KML)
Save the file to the path
Select all polygons

The KML file will be saved to the path and ready for FMS upload.
Upload KML to Field Management system
1. Login FMS
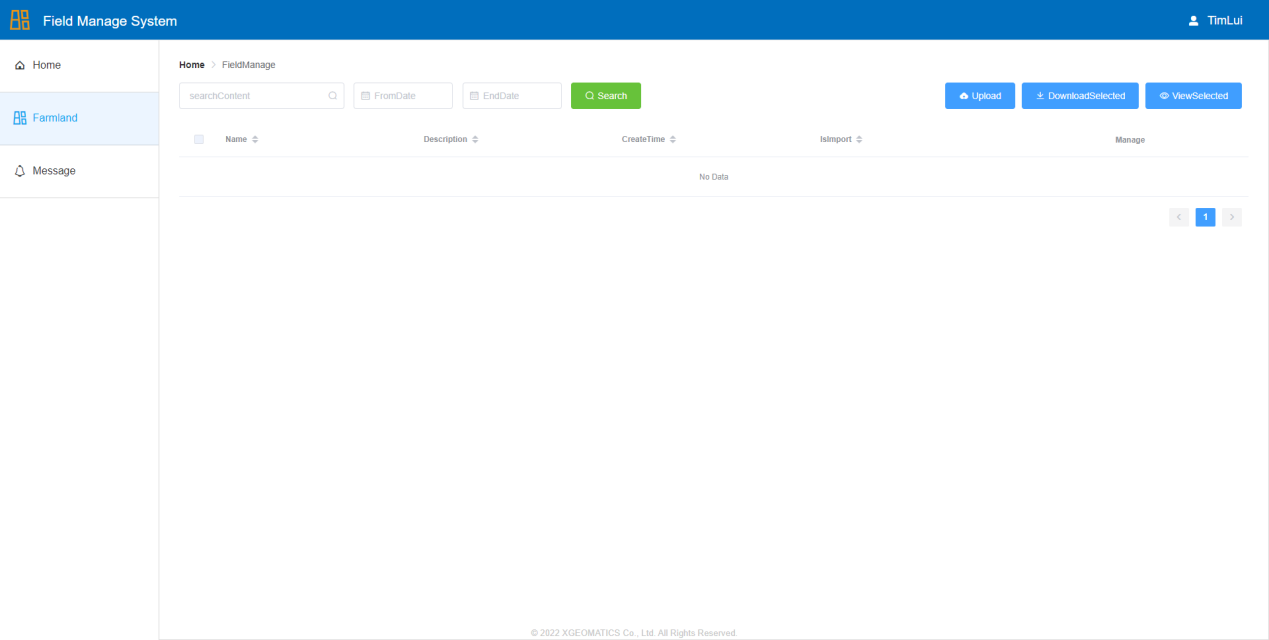
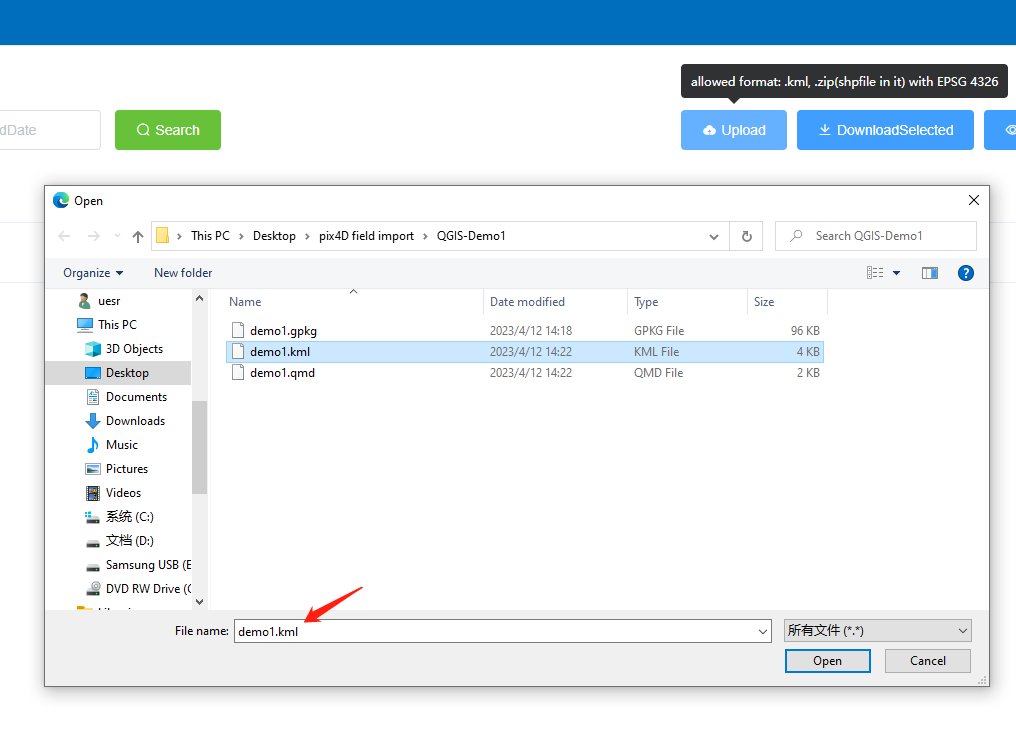
2. Upload the kml file
3. Upload the kml file to XAG one App
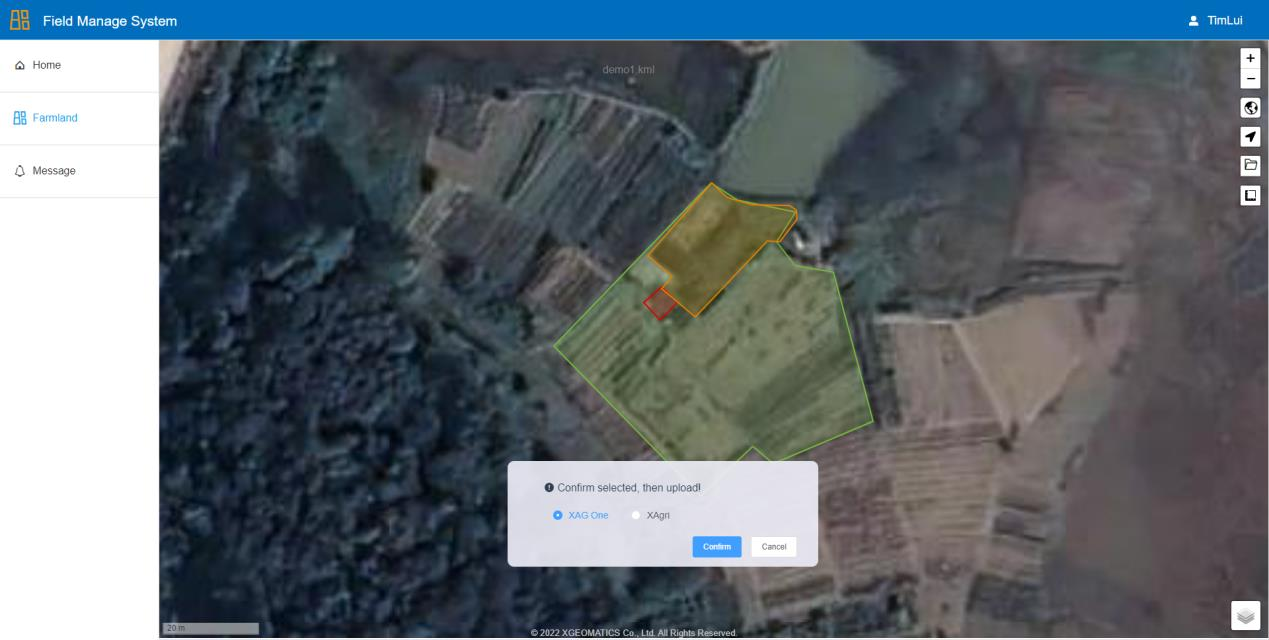
View and edit field on XAG One App
1. Open XAG One App and view the field


2. Users are allowed to edit field boundary


3. If you still have questions regarding FMS features, please contact XAG technical support.